Sterilization
- - July 14, 2023
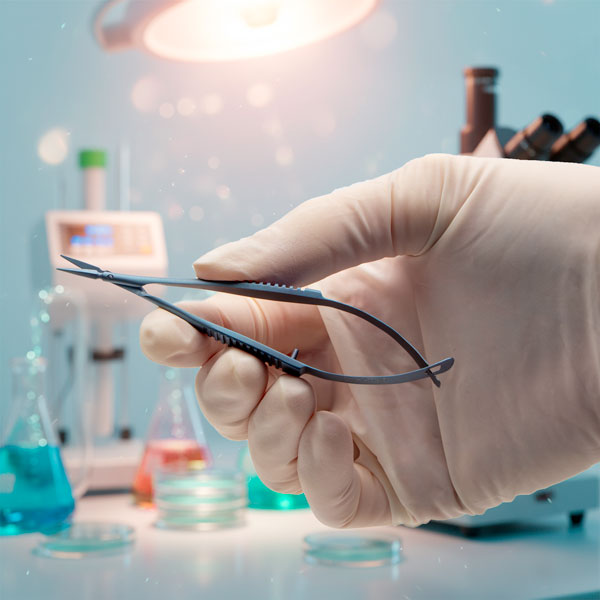
When it comes to sterilizing lab forceps, it is crucial to follow proper protocols to maintain a sterile environment and prevent cross-contamination. Like other surgical instruments, laboratory forceps may be sterilized by autoclaving, dry heat, or a chemical sterilant. However, forceps are uniquely designed for many specific functions, and a few pointers here can ensure you get the best results.
NOTE: Always follow the manufacturer's instructions and best practices to ensure effective sterilization and maintenance of your lab forceps.
- - July 05, 2023
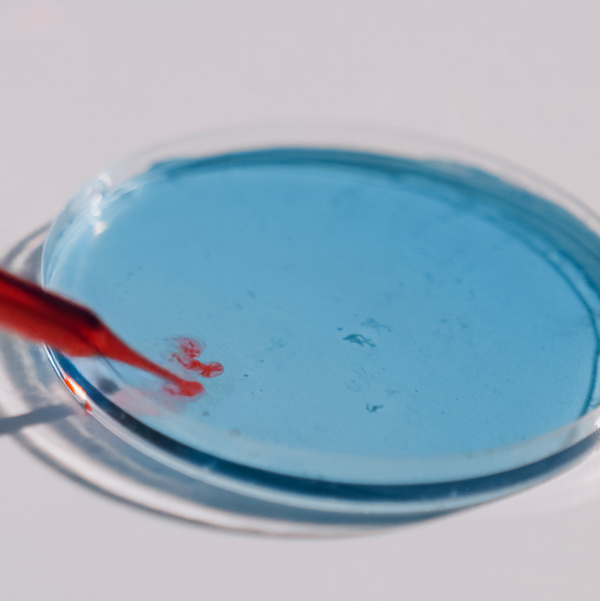
In any laboratory, having key lab supplies is almost as important as having the major equipment. Choosing a reputable supplier of these necessary supplies is as important as having quality laboratory supplies when you need them. WPI wants to be your partner in early drug discovery, and we stock a wide variety of lab supplies, many of which can ship the same business day. Having a variety of lab supplies ready to ship makes us a dependable research partner. Here are some of the popular supplies that we keep on hand to meet your needs for your upcoming experiment
- - March 14, 2022
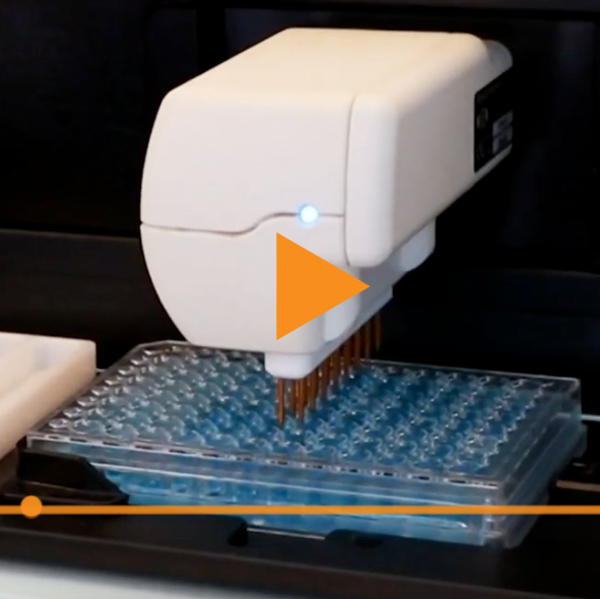
In this video, you get some practical tips on sterilizing your surgical instruments and using an autoclave. This video is the fourth in a series of four to discuss some best practices in caring for your surgical instrument investment.
Autoclaving, which is saturated steam under high pressure, is the most common method for sterilizing surgical instruments, but a cold sterilization method may also be used.
Prior to sterilization, clean the instruments and lubricate all hinged instruments with a surgical instrument lubricant. *Do not use WD-40, oil or other industrial lubricants.*
Cold Sterilization
Cold sterilization involves soaking instruments in a cold sterilant like Cidex® for at least 10 hours. This process may be detrimental to fine instruments.
If disinfection is all that is required (and not sterilization) a 10–90 minute soak in Cidex® may be all that is necessary.
When using instruments with tungsten carbide inserts, avoid using solutions with benzyl ammonium chloride
...more
- - March 09, 2022
In this video, you can see how to mechanically clean surgical instruments using an ultrasonic cleaner. This video is loaded with tips. This video is the third in a series of four to discuss some best practices in caring for your surgical instrument investment.
Ultrasonic is the most effective cleaning method, because of its cavitation. Vibrating sound waves create micron-size bubbles in solution that grow as the pressure in the unit changes. Eventually the bubbles implode. The bursting bubbles effectively dislodge debris, even in the most difficult to reach places. Use of ultrasonic detergent greatly improves the effectiveness of the cleaner, because it increases the number of tiny bubbles.
Rinsing Instruments
Immediately after use, rinse instruments under warm or cool running water to remove all blood, body fluids and tissue. Dried soils may damage the instrument surface and make cleaning difficult. Do not use hot water since this causes proteinous substances to coagulate.
Process...more
- - March 07, 2022
In this video, you can see how to manually clean surgical instruments. It is loaded with tips. This video is the second in a series of four to discuss some best practices in caring for your surgical instrument investment.
If instruments are easily damaged, complex and requiring disassembly, or have small lumens, they may need to be cleaned manually.
Personal Protective Equipment
When cleaning your instruments manually, wear heavy-duty rubber gloves, a plastic apron, eye protection and a mask.
Cleaning Materials
Remember, use stiff plastic cleaning brushes. Do not use steel wool or wire brushes.
Use only neutral pH detergents. If the instruments are not rinsed properly, low pH detergents may breakdown the stainless protective surface and cause black staining.
High pH detergents may cause surface deposits of brown stains, which can interfere with the smooth operation of the instrument.
Process
- Brush delicate instruments carefully and handle them separately from general instruments...more
- - March 03, 2022
What's the difference between cleaning, disinfecting and sterilizing? Let's take a look. This is the first in a series of four videos to discuss some best practices in caring for your surgical instrument investment.
Surgical instruments are crucial in your research, and proper cleaning, handling and storage will ensure your instruments last for many years to come.
First of all, before we begin, let me remind you not to use alcohol for cleaning. It is not a good cleaning agent, and because of its rapid evaporation, it cannot sterilize instruments. Now, in this series of videos, we will talk about the three levels of surgical instrument care -- cleaning, disinfecting and sterilizing.
Cleaning
Cleaning removes dirt, debris and biological material from surgical instruments. To maximize the useable life of your instruments, never allow blood to dry on surgical instruments. Within 10-20 minutes after a procedure, open all the instruments and begin a decontamination process.
To prevent blood...more - - February 14, 2022
Ultrasonic cleaning is the most effective cleaning method for maintaining your surgical instruments, because of its cavitation. Vibrating sound waves create micron-size bubbles in solution that grow as the pressure in the unit changes. Eventually the bubbles implode. The bursting bubbles effectively dislodge debris, even in the most difficult to reach places. Use of ultrasonic detergent greatly improves the effectiveness of the cleaner, because it increases the number of tiny bubbles
- Immediately after use, rinse instruments under warm or cool running water to remove all blood, body fluids and tissue. Dried soils may damage the instrument surface and make cleaning difficult.
CAUTION: Do not use hot water since this causes proteinous substances to coagulate. - Before you begin, fill the ultrasonic cleaner with deionized water and enzymatic cleaner like Enzol according to the manufacturer’s recommendations. You may also use a neutral pH or mild alkaline detergent like Alconox.
- Run the cleaner...more
- Immediately after use, rinse instruments under warm or cool running water to remove all blood, body fluids and tissue. Dried soils may damage the instrument surface and make cleaning difficult.
- - February 14, 2022
After a good cleaning and disinfection, your surgical instruments may be sterilized using a variety of methods. The chart below shows two common methods, autoclaving and cold sterilization. Sterilization destroys all microbial life. Some chemical sterilants can be used as high level disinfectants (HLD) when used for shorter exposure periods.
- You can sterilize your instruments by soaking them in a chemical sterilant like Cidex Plus® for 10 hours at 25°C. This process may be detrimental to fine instruments.
- Dry heat or autoclaving are the preferred methods of sterilizing surgical instruments. Typically, surgical instruments are sterilized by autoclaving. Autoclaving, which is saturated steam under high pressure, is the most common method for sterilizing surgical instruments. If you prefer to autoclave, instruments may be autoclaved individually or in sets.
Disposable paper or plastic pouches are ideal for autoclaving individual instruments. Use a pouch wide enough for instruments with...more
- - February 13, 2022
The proper care and handling of surgical instruments is the simplest way to protect your investment and add years to the life of your instruments. Here is a handy infographics showing the steps for proper surgical instrument cleaning.
When you are cleaning instruments manually, here a few quick tips:
- Use stiff plastic cleaning brushes.
- Do NOT use steel wool or wire brushes.
- Use only neutral pH detergents.
Take special care when you are rinsing your instruments. Here's a note of caution:
- If not rinsed properly, low pH detergents may breakdown the stainless protective surface and cause black staining.
- High pH detergents may cause surface deposits of brown stains, which can interfere with the smooth operation of the instrument.
This are the steps of a typical protocol.
- Whether you are cleaning your surgical instruments manually or ultrasonically, the first step is to rinse off all blood, bodily fluids and tissue immediately after use. Dried soils may damage the instrument surface and...more
- - February 13, 2022
Although stainless steel is corrosion-resistant, it can still rust and stain if it is handled improperly. To determine if a discoloration is rust or just a stain, erase the discoloration with a pencil eraser. If there is pitting in the metal under the discoloration, it is corrosion. If the discoloration is removed, it was just a stain.
- A High pH can cause a brown or orange stain on surgical instruments.
- If a stain is dark brown, the stainless steel surgical instruments have likely been exposed to a Low pH solution.
- A blue or bluish-black stain could be the result of reverse plating. This can happen if you mix metals in a cleaning cycle. For example, stainless steel instruments should not be mixed with titanium instruments. Do not place dissimilar metals (stainless steel, copper, chrome-plated, titanium, etc.) in the same cleaning cycle.
- A stain of multi-colors is caused by excessive heat.
- Light or dark spots on instruments are often caused by water droplets that dry on the surface of...more
- - June 20, 2021
WPI offers alkaline cleaners for the pharmaceutical, biotech, medical device, healthcare, precision engineering, and other sectors.
- - April 24, 2013
Luer kits contain many plastic parts made of a variety of materials. A common question is how to sterilize these parts. Common sterilizing methods include:
- EtO (gas)–a chemical steriliant small enough to penetrate the microbial cells that destroying nuclear cell components
- 70/30 Alcohol
- Cidex (Activated Dialdehyde solution)
- Autoclaving (wet 121°C, 15PSI for 30 minutes)–Before autoclaving, verify that the caps are properly loosened or removed to prevent any accidental implosion. Carefully clean the items with distilled water before autoclaving, because some chemicals that are inert on plastic resins at room temperature causes deterioration at high temperatures.
Can the Luer Kits be Autoclaved?
We offer to following luer kits. This table shows the materials used in each kit and whether or not the plastic parts are autoclavable.
Order code Materials Autoclavable 504955 Nylon NO 504954 Polypropylene Yes 14011 Variety Some pieces can be What Materials are Autoclavable?
This table shows a...more
Recent Posts