Page 5 - Videos
- - March 14, 2022
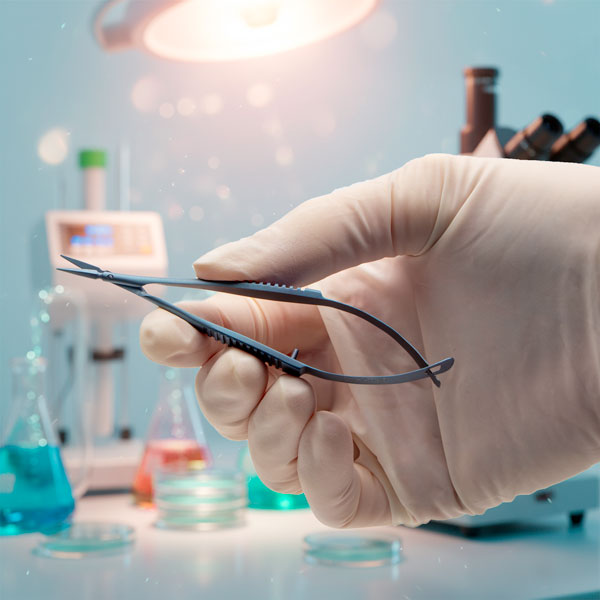
In this video, you get some practical tips on sterilizing your surgical instruments and using an autoclave. This video is the fourth in a series of four to discuss some best practices in caring for your surgical instrument investment.
Autoclaving, which is saturated steam under high pressure, is the most common method for sterilizing surgical instruments, but a cold sterilization method may also be used.
Prior to sterilization, clean the instruments and lubricate all hinged instruments with a surgical instrument lubricant. *Do not use WD-40, oil or other industrial lubricants.*
Cold Sterilization
Cold sterilization involves soaking instruments in a cold sterilant like Cidex® for at least 10 hours. This process may be detrimental to fine instruments.
If disinfection is all that is required (and not sterilization) a 10–90 minute soak in Cidex® may be all that is necessary.
When using instruments with tungsten carbide inserts, avoid using solutions with benzyl ammonium chloride
...more
- - March 09, 2022
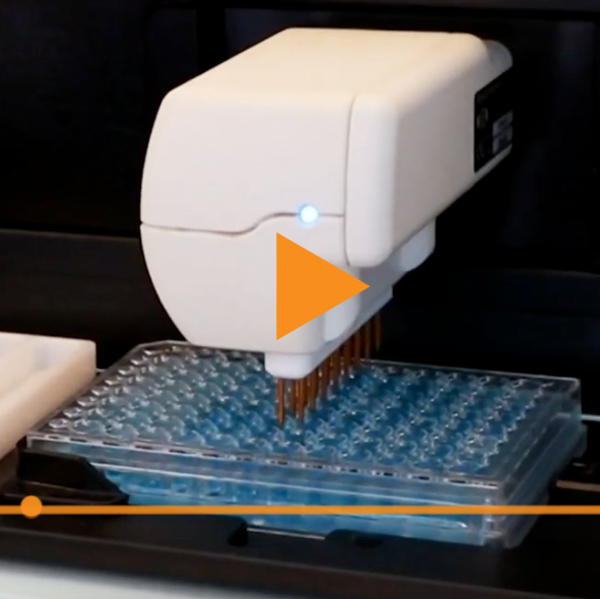
In this video, you can see how to mechanically clean surgical instruments using an ultrasonic cleaner. This video is loaded with tips. This video is the third in a series of four to discuss some best practices in caring for your surgical instrument investment.
Ultrasonic is the most effective cleaning method, because of its cavitation. Vibrating sound waves create micron-size bubbles in solution that grow as the pressure in the unit changes. Eventually the bubbles implode. The bursting bubbles effectively dislodge debris, even in the most difficult to reach places. Use of ultrasonic detergent greatly improves the effectiveness of the cleaner, because it increases the number of tiny bubbles.
Rinsing Instruments
Immediately after use, rinse instruments under warm or cool running water to remove all blood, body fluids and tissue. Dried soils may damage the instrument surface and make cleaning difficult. Do not use hot water since this causes proteinous substances to coagulate.
Process...more
- - March 07, 2022
In this video, you can see how to manually clean surgical instruments. It is loaded with tips. This video is the second in a series of four to discuss some best practices in caring for your surgical instrument investment.
If instruments are easily damaged, complex and requiring disassembly, or have small lumens, they may need to be cleaned manually.
Personal Protective Equipment
When cleaning your instruments manually, wear heavy-duty rubber gloves, a plastic apron, eye protection and a mask.
Cleaning Materials
Remember, use stiff plastic cleaning brushes. Do not use steel wool or wire brushes.
Use only neutral pH detergents. If the instruments are not rinsed properly, low pH detergents may breakdown the stainless protective surface and cause black staining.
High pH detergents may cause surface deposits of brown stains, which can interfere with the smooth operation of the instrument.
Process
- Brush delicate instruments carefully and handle them separately from general instruments...more
- - March 03, 2022
What's the difference between cleaning, disinfecting and sterilizing? Let's take a look. This is the first in a series of four videos to discuss some best practices in caring for your surgical instrument investment.
Surgical instruments are crucial in your research, and proper cleaning, handling and storage will ensure your instruments last for many years to come.
First of all, before we begin, let me remind you not to use alcohol for cleaning. It is not a good cleaning agent, and because of its rapid evaporation, it cannot sterilize instruments. Now, in this series of videos, we will talk about the three levels of surgical instrument care -- cleaning, disinfecting and sterilizing.
Cleaning
Cleaning removes dirt, debris and biological material from surgical instruments. To maximize the useable life of your instruments, never allow blood to dry on surgical instruments. Within 10-20 minutes after a procedure, open all the instruments and begin a decontamination process.
To prevent blood...more - - February 22, 2022
Adjustable Height/Working Distance
WPI's 3D SpectaSCOPE™ Inspection Scope is a true 3D digital stereo optical scope with a host of innovative patent-pending features.
It all starts with the fully optical zoom system, which is sending the smallest details to its two powerful HD 5MP cameras. The images are then transmitted at full speed frame rates to the on-board HD screens, giving you a true three-dimensional image. You choose the most comfortable position for the viewer’s tilting headset.
The 3D SpectaSCOPE™ is easy to set up. Here we show you how to adjust the height and working distance of the 3D SpectaSCOPE™.
Step 1. Use the adjustment knob to move the manual focus to the middle of the range.
Step 2. While supporting the arm, loosen the tension adjustment knob/handle to move the head up or down.
Step 3. Using a ruler, adjust the scope head so it is 200mm from the top of the subject you wish to view.
Step 4. Tighten the tension adjustment knob/handle.
Step 5. Looking...more
- - February 21, 2022
WPI’s 3D SpectaSCOPE™ Inspection Scope is a revolutionary advancement for detailed visual inspection with a host of patent-pending features, including:
- A self-zooming scope and ergonomically designed head to offer you faster inspections, less fatigue and greater accuracy.
Self-focus that employs sophisticated computer algorithms and a large depth of field so your subject remains in focus (even when the working distance changes).
- A self-zooming scope and ergonomically designed head to offer you faster inspections, less fatigue and greater accuracy.
- - February 14, 2022
Ultrasonic cleaning is the most effective cleaning method for maintaining your surgical instruments, because of its cavitation. Vibrating sound waves create micron-size bubbles in solution that grow as the pressure in the unit changes. Eventually the bubbles implode. The bursting bubbles effectively dislodge debris, even in the most difficult to reach places. Use of ultrasonic detergent greatly improves the effectiveness of the cleaner, because it increases the number of tiny bubbles
- Immediately after use, rinse instruments under warm or cool running water to remove all blood, body fluids and tissue. Dried soils may damage the instrument surface and make cleaning difficult.
CAUTION: Do not use hot water since this causes proteinous substances to coagulate. - Before you begin, fill the ultrasonic cleaner with deionized water and enzymatic cleaner like Enzol according to the manufacturer’s recommendations. You may also use a neutral pH or mild alkaline detergent like Alconox.
- Run the cleaner...more
- Immediately after use, rinse instruments under warm or cool running water to remove all blood, body fluids and tissue. Dried soils may damage the instrument surface and make cleaning difficult.
- - February 14, 2022
After a good cleaning and disinfection, your surgical instruments may be sterilized using a variety of methods. The chart below shows two common methods, autoclaving and cold sterilization. Sterilization destroys all microbial life. Some chemical sterilants can be used as high level disinfectants (HLD) when used for shorter exposure periods.
- You can sterilize your instruments by soaking them in a chemical sterilant like Cidex Plus® for 10 hours at 25°C. This process may be detrimental to fine instruments.
- Dry heat or autoclaving are the preferred methods of sterilizing surgical instruments. Typically, surgical instruments are sterilized by autoclaving. Autoclaving, which is saturated steam under high pressure, is the most common method for sterilizing surgical instruments. If you prefer to autoclave, instruments may be autoclaved individually or in sets.
Disposable paper or plastic pouches are ideal for autoclaving individual instruments. Use a pouch wide enough for instruments with...more
- - February 13, 2022
Although stainless steel is corrosion-resistant, it can still rust and stain if it is handled improperly. To determine if a discoloration is rust or just a stain, erase the discoloration with a pencil eraser. If there is pitting in the metal under the discoloration, it is corrosion. If the discoloration is removed, it was just a stain.
- A High pH can cause a brown or orange stain on surgical instruments.
- If a stain is dark brown, the stainless steel surgical instruments have likely been exposed to a Low pH solution.
- A blue or bluish-black stain could be the result of reverse plating. This can happen if you mix metals in a cleaning cycle. For example, stainless steel instruments should not be mixed with titanium instruments. Do not place dissimilar metals (stainless steel, copper, chrome-plated, titanium, etc.) in the same cleaning cycle.
- A stain of multi-colors is caused by excessive heat.
- Light or dark spots on instruments are often caused by water droplets that dry on the surface of...more
- - February 12, 2022
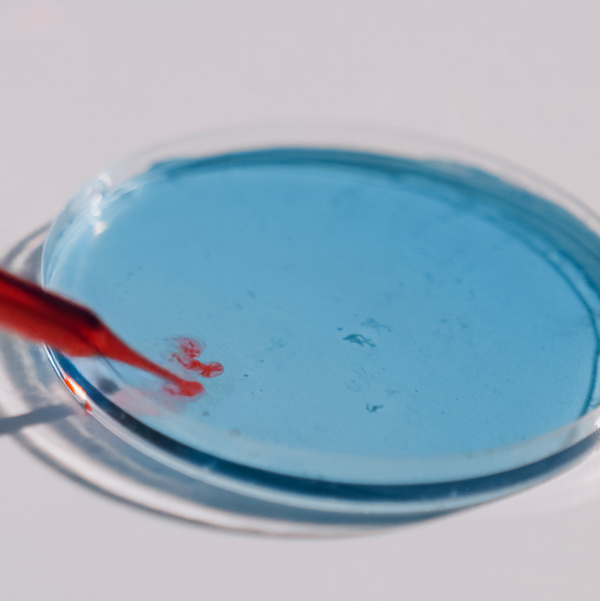
Celloger® Mini Plus is an automated live cell imaging system that is equipped with an advanced fluorescence and bright field microscopy, autofocusing and real time multi-position imaging technology. It provides you all the tools you need to acquire the best quality images and accurate research results. Various cell-based research work and applications can be done with this all-around system.
Importance of Live Cell Imaging
Starting with the discoveries of microscopes in the 16th centuries, there have been endless desires to peer into objects that cannot be seen by the naked eye. With the development of technology and the introduction of live cell imaging, it has transformed the way researchers study cells, tissues, proteins and other cellular interactions. Live cell imaging (LCI) has became a basic analytical tool in the study of life science. Compared to studying captured images of fixed cells, observing live cells in real time provides more reliable and relevant insights into cellular...more
- - February 09, 2022
Surgical instruments are designed to perform diagnostic, therapeutic, or investigative operations having specific functions such as to cut or incise, retract, grasp, hold or occlude, dilate or probe, suture or ligate.
The majority of surgical instruments are made of stainless steel or titanium (used where non-magnetic instruments are required). Stainless steel is an alloy that contains a minimum 12% chromium for corrosion resistance. Here's a quick comparison chart looking a various metals used in surgical instruments and the best applications for each.
Stainless Steel
Austenitic 316 steel, also called surgical steel or marine grade steel is the most common alloy used for WPI's standard line of instruments. Surgical steel has excellent corrosion-resistance, which makes it a good choice for biomedical implants or body piercing jewelery, as well as surgical instruments. It is in compliance with ASTM F138. Stainless steel (Inox) also has good salt resistance and temperature resistant up...more
- - January 16, 2022
The DMF1000 is a microprocessor-controlled microforge designed for fabrication of both small patch clamp glass pipettes and larger injection pipettes. The DMF1000 can be used for polishing patch clamp pipettes, microforging holding pipettes, microforging beveled injection pipettes, and for calibrating pipette tips for microinjection. Here we will show you how to install the microforge filament on your microscope.
- After you turn on the power to the microscope, you must choose the desired filament.
- The small filament MF200-H4 is better suited for microforging pipettes 1 µm or less.
- The large filament DMF1000-H5 should be used for larger pipette forging, forming and sizing.
- Mount and connect the heating filament. Push the filament into the clamp about halfway, with the filament under the objective clamp. You can adjust the position of the filament vertically and laterally in relation to the objective.
- Lower the stage all the way and mount the filament holder on the objective. Slide...more
- After you turn on the power to the microscope, you must choose the desired filament.
- - January 16, 2022
The DMF1000 is a microprocessor-controlled microforge designed for fabrication of both small patch clamp glass pipettes and larger injection pipettes. The DMF1000 can be used for polishing patch clamp pipettes, microforging holding pipettes, microforging beveled injection pipettes, and for calibrating pipette tips for microinjection. Here we will show you how to configure the DMF1000 controller.
- Power up the DMF1000 unit. Connect the cord to the power input jack.
- Turn the power switch on. Then, plug the filament pins into the rear panel of the controller and plug the filaments into the sockets.
- After initialization, the setting that had been stored in memory location 0 displays. The Heat and Timer displays illuminate, indicating that the unit is powered up. The first time the unit is turned on, both readouts display 000. The TIME selection is set to Auto. The MODE selection is Heat. The Air On light is off, and the Heat On light is off.
- For demonstration, I will hold the filament...more
- - September 26, 2021
Inox, Titanium, Dumoxel®, Dumastar®, Antimagnetic... Have you ever looked at the variety of metal alloys for surgical instruments and laboratory tools and wondered which is best for your needs? Here's a brief rundown.
Hardness (Rockwell) Max. Temp. Resistance Max. Temp. Resistance Magnetic Stainless Steel & Inox 55-56 350°C Good Yes Dumoxel 36 350°C Excellent No Dumostar 62 550°C 100% Non-corrosive No Titanium 37 550°C 100% Non-corrosive No Stainless Steel (Inox)
Why Stainless Steel is the Standard Alloy for Surgical Instruments
Our standard line of instruments is manufactured of highest quality materials. They are made of austenitic 316 steel commonly known as “surgical steel” or “marine grade steel.” Stainless steel, also known as Inox (from the French word "inoxydable"), is highly corrosion resistant and it is a common choice of material for biomedical implants or body piercing jewelry. It is in compliance with ASTM F138. This WPI line is an excellent alternative to German surgical...more
- - September 26, 2021
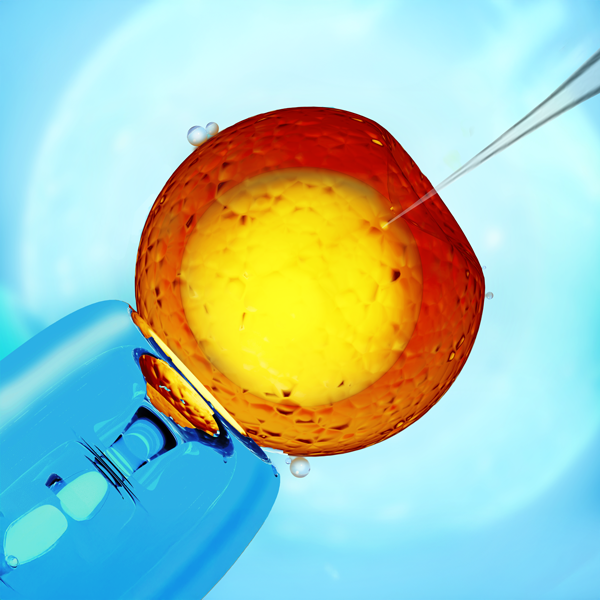
The manual microsyringe pump is a convenient tool for precise manual injection of fluid using glass pipettes or similar injection devices. The design allows visual feedback of flow at the pipette tip. They can also be used as a manual micro syringe pump for perfusion or withdrawal of liquids. The resolution of the injection volume can be continuously varied from 10 nanoliters to the microliter range, depending on the syringe used. Here we show you how to setup your system.
- Loosen the set screw on the Adjustable Micrometer Mount, but do not remove it.
- Tighten the thumb screw on the Ajdustable Micrometer Mount.
- Insert the digital micrometer or the manual micrometer through the hole on the Adjustable Micrometer Mount. Then, tighen the set screw.
- Loosen the set screw on the Syringe Piston Mount Bracket.
- Install the Bracket on the Spindle of the Micrometer. Tighten the set screw on the Bracket
- Loosen the Syringe Piston Mount Bracket thumb screw and the Syringe Mount Bracket thumb...more

Recent Posts