Pumps
- - September 08, 2025
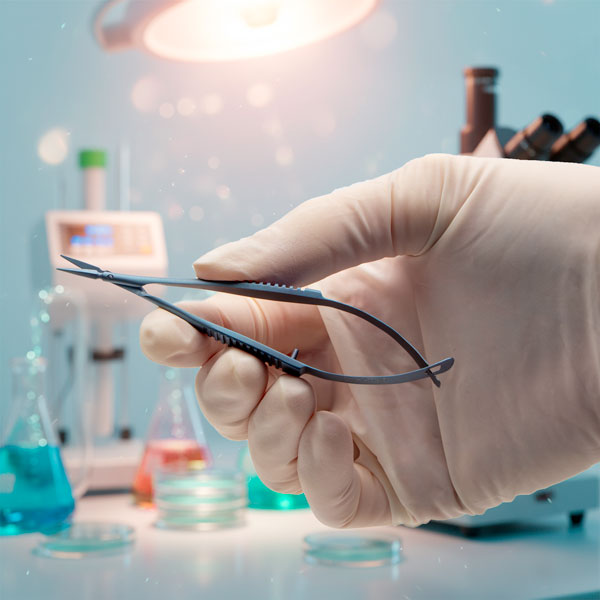
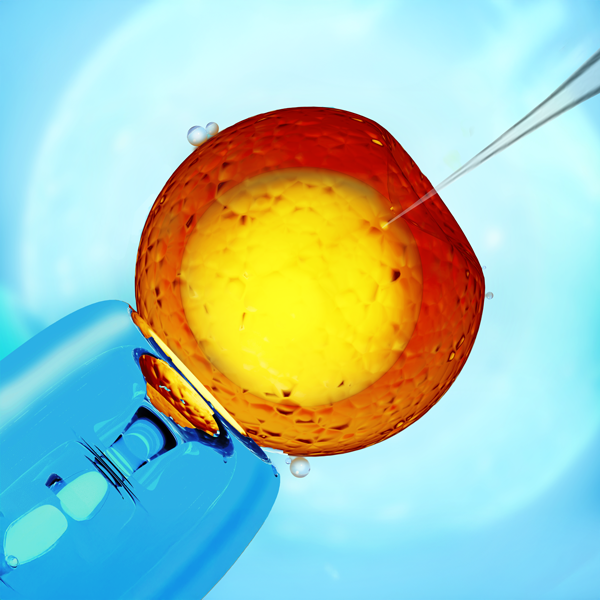
When it comes to gene modification and transfection research, success often depends on the smallest details. One of the most critical factors in microinjection-based techniques is the geometry of the pipette tip.
- - June 15, 2022
WPI carries a wide variety of fluid handling tools utilizing different technologies: - Microinjectors
- Peristaltic pumps
- Syringe pumps
- Pneumatic injectors
The range of applications and the criteria used to select a particular pump or injector is broad and complex, and we encourage you to call us at (866) 606-1974 or email customerservice@wpiinc.com and speak with an application specialist. In the meantime, here is a listing of our popular pumps and injectors sorted by technology, flow range and special features.
Special features tell you about applications or functionsof the pump. Many of the syringe pumps can be had with an alarm option that alerts you to the end of travel or blocked flow. The onew with the “P” option allow for programmable flow and volume profiles without using the RS232 computer interface.
Frequently used terms:
- Infuse/Withdraw (I/W): Describes a feature of a syringe pump whereby the syringe plunger is held by the pusher so the motor can pull the plunger back, withdrawing...more
- - September 26, 2021
The manual microsyringe pump is a convenient tool for precise manual injection of fluid using glass pipettes or similar injection devices. The design allows visual feedback of flow at the pipette tip. They can also be used as a manual micro syringe pump for perfusion or withdrawal of liquids. The resolution of the injection volume can be continuously varied from 10 nanoliters to the microliter range, depending on the syringe used. Here we show you how to setup your system.
- Loosen the set screw on the Adjustable Micrometer Mount, but do not remove it.
- Tighten the thumb screw on the Ajdustable Micrometer Mount.
- Insert the digital micrometer or the manual micrometer through the hole on the Adjustable Micrometer Mount. Then, tighen the set screw.
- Loosen the set screw on the Syringe Piston Mount Bracket.
- Install the Bracket on the Spindle of the Micrometer. Tighten the set screw on the Bracket
- Loosen the Syringe Piston Mount Bracket thumb screw and the Syringe Mount Bracket thumb...more
- - April 22, 2021
Let’s look at a Peri-Star Pro peristaltic pump, which is available in four models for high and low flow rate, and 2, 4 and 8 channels. Here’s a quick introduction to the pump.
Control Keypad
Setup and operation are controlled with a Control Knob and three membrane keys. Pressing a membrane key once activates the key function.
- The Run/Stop button switches the pump on or off. If the pump is running, pressing this key immediately stops pump. If the pump is off, pressing the key turns it on.
- The Rotation Direction button sets the rotor direction clockwise or counterclockwise. The direction is shown on LCD display.
- The Full Speed button runs the pump at maximum flow rate. This is convenient to use when evacuating or cleaning the system.
Control Knob
The Control Knob provides two functions by rotating or pressing. Rotate the knob clockwise to increase the pump’s flow rate or counterclockwise to decrease the pump’s flow rate. Slow rotation makes a small change in the flow rate. Fast rotation...more
- - April 22, 2021
The Peri-Star Pro is a popular peristaltic pump. Here we see how to calibrate the pump so that the display shows the dispensed volume accurately.
In addition to the traditional RPM control, Peri-Star Pro also allows control of pump output by setting a calibrated flow rate. Flow rate is affected by tubing ID, tubing material, and rotor speed. Peri-Star Pro stores the flow rate relation of silicone tubing and rotor speed so that you can easily switch between controls for flow rate or RPM (revolutions per minute). Calibration is required for high precision pumping or after changing to a different type of tubing.
One of the important and unique features of Peri-Star Pro is that the control of liquid flow can be expressed either as the rotation rate of the pump head (rotation per minute, or RPM) or directly as the flow rate in milliliters per minute (mL/min.) or milliliter per hour (mL/hr). This feature makes reporting and repeating the experiment much easier. In the flow rate mode, you only...more
- - April 18, 2021
The Peri-Star Pro is a popular peristaltic pump. Here we will show you how to install the tubing in the pump head so that you can use the pump.
First, remove the tubing fixture by pressing the Locking Tab on the left side of the fixture and pulling the fixture open.
Then pull the tubing through the fixture. Make sure the tubing is straight inside the fixture with no kinks.
Remount the fixture on the pump head. The rounded notch is on the right side of the fixture, and it fits against a steel rod on the Pump Head. When the other end of the fixture is pushed into place, the locking notch will snap into place against the inside of the Locking Tab.
Turn the Adjusting Screw, if necessary, to get a smooth flow.
If you have any questions about your Peri-Star Pro, just give us a call.
- - April 18, 2021
The Peri-Star Pro is a popular peristaltic pump. Here we will show how to set the system parameters for your application.
Using the Control Knob to Navigate the Menu
Press the Control Knob to enter the setup mode in the main menu, then rotate the Control Knob to toggle between the four functions. Press the Control Knob again when you get to System Setting. Turning the Control Knob toggles between the submenu items.
Define System Parameters
- Tubing ID is the first submenu. To change tubing inside diameter, click the Control Knob. After clicking, a list of tubing IDs appears. Turn to the desired tubing ID and click the Control Knob to select it.
- Test Time sets the flow time when performing a calibration. To change the time, click the Control Knob on this submenu item, then turn the Control Knob to the desired test time. Click the Control Knob to select it.
- Remote enables or disables the external remote-control module. When this menu option is enabled, you may use an external remote-control...more
- - April 05, 2021
A peristaltic pump is a type of positive displacement pump used for pumping a variety of fluids, particularly clean, sterile or aggressive fluids. Here are five reasons to choose the Peri-Star Pro peristaltic pump.
The fluid contacts only the interior of the flexible tube and thus avoids contamination from the pump or damage to the pump. This makes it easy to maintain and clean.
The Peri-Star Pro peristaltic pump provides accurate and precise fluid delivery. It can run at flow rates from 0.1mL/min. to 280mL/min. with better than 0.5% accuracy.
Peri-Star Pro has a backlit digital LCD display and a water-resistant membrane keypad.
A unique planetary gear design with eight actively driven rollers (four rollers in the higher flow rate model), together with independent fine adjustment of tubing compression, increases flow accuracy and prolongs tubing life.
The user-friendly interface makes the setup, calibration and operation easy and problem-free.
If you have any questions about the Peri-Star...more
- - April 05, 2021
A peristaltic pump is a popular appliance in any laboratory. Here you will find some tips for choosing the correct tubing to use for your application with your Peri-Star Pro peristaltic pump.
Size (ID) of Tubing
In a peristaltic pump, the flow rate is determined by both the size of the tubing and the rotor speed. WPI provides two sizes of silicone tubing:
- 1/16-inch ID tubing for low flow rate at 0.2-18mL/min.
- 1/4-inch ID tubing for high flow rate at 3.5-280mL/min.
Types of Tubing
- Silicone tubing has a long service life and good chemical compatibility for aqueous and many organic solvents.
- Fluoroelastomer tubing should be used when pumping halogenated solvents.
- Vinyl tubing is used only with chemically compatible solvents.
If you have any questions about tubing for your Peri-Star Pro, just give us a call.
- - April 05, 2021
When using the Peri-Star Pro, solutions pumped should never come into contact with the pump. Here we will give you some guidelines for operating your peristaltic pump in a way that is safe for both the laboratory personnel and for the machinery.
Some solvents can permanently damage a peristaltic pump. The following rules are recommended to avoid leakage when running your Peri-Star Pro peristaltic pump.
- Follow safety rules when handling aggressive solvents.
- Pull a fresh section of tubing into the tubing fixtures regularly. If the pump gets heavy use, do this weekly.
- A fresh section of tubing should be pulled through the pump rollers before the pump is left to run unattended.
- Change the tubing immediately, if it is visibly worn.
- Be sure the tubing used is compatible with the solution being pumped.
- Always turn off the power and unplug the power cord when changing the tubing.
If you have any questions about your Peri-Star Pro, just give us a call.
- - September 07, 2020
[by Gabe Gonzalez]
The PV850 Injector is designed to simplify intracellular injection and a variety of other microinjection tasks. The PV850 uses regulated air pressure for injecting cells with fluid. Injected volumes range from picoliters to nanoliters. The port supplies positive pressure for high-pressure ejection maximum of 87 PSI. The PV850 Microinjector offers separate regulated compensation (back filling prevention) and ejection pressures with a precision timing circuit that switches from injection pressure to compensation pressure automatically. Timing, injection pressure and compensation pressure are adjusted independently using the intuitive touch-screen user interface. Time intervals can range from 2 seconds down to 10 ms or less, depending on the injection pressure setting. The injection pressure interval is triggered by using a foot switch, manually or a computer controlled TTL pulse. The PV850 is designed to inject very small quantities of fluids, such as drugs into cells...more
- - September 07, 2020
[by Gabe Gonzalez]
The PV850 Injector is designed to simplify intracellular injection and a variety of other microinjection tasks. The PV850 uses regulated air pressure for injecting cells with fluid. Injected volumes range from picoliters to nanoliters. The port supplies positive pressure for high-pressure ejection maximum of 8 7PSI. The PV850 Microinjector offers separate regulated compensation (back filling prevention) and ejection pressures with a precision timing circuit that switches from injection pressure to compensation pressure automatically. Timing, injection pressure and compensation pressure are adjusted independently using the intuitive touch-screen user interface. Time intervals can range from 2 seconds down to 10 ms or less, depending on the injection pressure setting. The injection pressure interval is triggered by using a foot switch, manually or a computer controlled TTL pulse. The PV850 is designed to inject very small quantities of fluids, such as drugs into cells...more
- - September 02, 2020
Designed to simplify intracellular injection and a variety of other microinjection tasks, WPI’s PicoPumps (PV830 and PV820) use precisely regulated pressures for securing cells and injecting them with fluid. Injected volumes range from picoliters to nanoliters. Separate ports supply positive and negative pressure—positive pressure for high-pressure ejection, and suction for supporting the cell or for filling the pipette from the tip. In this quick series, you can see how to setup a PicoPump.
1. What's Included with a PV Pump
In this first video (#1) you can see all the components of the system as they unpack the system.
2. Connecting Tubing on the PV830
In this video (#2) you see how to connect the hard tubing for both the pressure and the vacuum ports on the PV830. The PicoPumps use quick connectors. Push the tubing in to install it, and press the blue collar and pull on the tubing to remove it from the quick connector.
3. Setting Hold Pressure on a PicoPump...more
-
- - July 12, 2020
[by Alec Dickson]
Easy to Configure Using the SmartTouch Interface
The UMP3 UltraMicroPump is easy to configure using the SMARTouch interface. It is pre-programmed for popular microsyringes and allows for user-defined syringe parameters, too. This ensures nearly universal compatibility. You can control up to two pumps, either simultaneously or independently, and the optional foot switch means hands-free operation. You can instantly verify actual injection volume on the graphical display. You can even use the touch screen while wearing gloves.
Ensure Reliable Injections of Small Volumes
The extremely fine thread-pitch of the UMP3 drive shaft ensures reliable injections of small volumes. When you are using a 10-microliter syringe, this correlates to 0.58 nanoliters/step and injections are accurate down to 1 nanoliter. “Smooth” mode uses micro-steps and allows for a smoother injection, increasing the resolution eight-fold. “Standard” mode allows for higher torque, for viscous samples or...more

Recent Posts