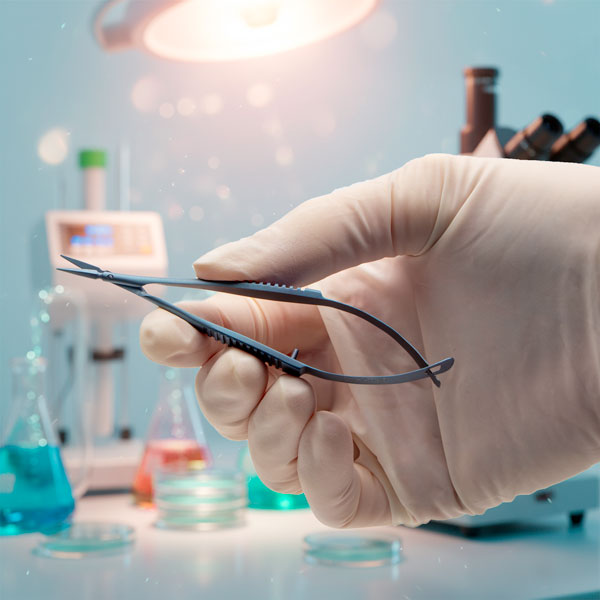
Micromanipulators
- - May 05, 2025
Whether you're conducting patch-clamp recordings, microinjections, or other high-precision tasks under a microscope, the right micromanipulator can make all the difference. At WPI, we offer a full range of manual and motorized micromanipulators designed to support both routine lab work and complex experimental setups. But which one is the best fit for your needs? Here’s a closer look at the key differences, features, and benefits of each.
- - April 07, 2021
Vernier scales can be used on microscopes, stereotaxic frames and micromanipulators. The vernier scale was invented by French mathematician Pierre Vernier in 1631 as an upgrade on Pedro Nunes' measurement system for precision astrolobes. With a main scale and a sliding secondary scale, a vernier is used for making precise measurements.
How a Vernier Scale Works
The vernier scale is marked with divisions slightly smaller than the divisions of the main scale. For example, a vernier scale could have 11 markings for every 10 on the main scale. That's 10 divisions on the vernier scale for every 9 on the main scale. This means that the vernier divisions are each 90% of the main scale divisions. In this case, the 0-line and the 10-line on the vernier could pair up with marks on the main scale, but none of the other divisions on the vernier would match a line of the main scale. For example, the 0 and 10-lines of the vernier scale could pair up with the 0 and 9-lines on the main scale...more
- - February 11, 2021
Manual micromanipulators are common equipment in a laboratory, and with proper care and handling they should last many years. Here's a few tips on how to take care of your new manipulator.
Your micro manipulator is a precision instrument, and it has been calibrated at the factory and is ready to use. As with any delicate mechanical device, your care and attention ensure long-term accurate performance. The following are some helpful hints that make this possible.
- When handling a micromanipulator like the M3301 or the KITE, always set it down carefully. Dropping it even a short distance can damage the general alignment and the adjustment.
- When it's not in use, close all the slides. When the guides are exposed, dust can get in those tracks. When you're not using you manipulator, you want to close those up so the guide track are completely covered.
- Always cover the micromanipulator with a plastic bag or some kind of covering to keep the dust off. Dust particles and...more
- When handling a micromanipulator like the M3301 or the KITE, always set it down carefully. Dropping it even a short distance can damage the general alignment and the adjustment.
- - February 11, 2021
The M3301 is a popular micromanipulator used for laboratory research. Here we will show you how to mount a microelectrode holder on the M3301 Micromanipulator. The procedure is very similar for most manual micromanipulators.
In this video, we use the popular M3301 Micromanipulator to demonstrate how to mount a standard electrode holder. This M3301 is mounted on an M-3 Tilt Base which allows you to position it the way you want. The Tilt Base is mounted on a 5-lb. Weighted Base (WPI #5464) for stability. To mount the microelectrode holder on the micromanipulator:
- Loosen the knurled thumb screw on the top of the micromanipulator.
- Slide your microelectrode holder under the clamp and position where you want it.
- Tighten the knurled thumb screw.
If you have any questions, give us a call at (866) 606-1974 (Toll free in the USA) or email us at wpi@wpiinc.com. - - February 11, 2021
Over time, you may experience mechanical drift in one or more of the axes of your manual micromanipulator. Here we show you how to adjust for that. The process is similar for other styles of manual micromanipulators. We will look at the process for adjusting all three axes of a KITE micromanipulator.
A micromanipulator axis may begin to move gradually under its own weight even if it's not being touched. This phenomenon is referred to as mechanical drift, and it occurs from normal use of the manipulator axes over time. Each coarse axis control of the micromanipulator has its own separate adjustment to counteract drift. Let's look at the popular M3301 Micromanipulator. The procedure we're using also works for an MD4, a KITE and an MMJ Micromanipulator. Each course axis control on the micromanipulator has its own adjustments. Your X, Y and Z axis controls are located on a single plane at the back of the manipulator. The X-axis fine control is on the top, the ...more
- - February 10, 2021
M3301 is a popular manual micromanipulator at WPI. These manipulators are typically mounted on a stand or table to ensure stability. In this video we show you how to mount the manipulator on an Tilt Base (WPI# M-3) with a WPI# 5464 5 lb. weighted base.
When we mount a micromanipulator on an M-3 tilt base, the tilt base can be adjusted to position the micromanipulator right where you want it. We will use our popular M3301 micromanipulator to demonstrate.
- The first thing we need to do is remove the ring clamp from the bottom of the micromanipulator. There are two screws that we need to remove with an allen key. Save the screws, because we will use them in a minute. Set the ring clamp aside.
NOTE: Notice that the mounting bracke has four holes in it. Two are used for mounting a left handed, and two are used for a right handed manipulator. You will never use all four. Likewise, you have several holes in the bottom of the manipulator. We will only use two...more
- The first thing we need to do is remove the ring clamp from the bottom of the micromanipulator. There are two screws that we need to remove with an allen key. Save the screws, because we will use them in a minute. Set the ring clamp aside.
- - February 09, 2021
Over time, you may experience mechanical drift in one or more of the axes of your manual micromanipulator. Here we show you how to adjust for that. The process is similar for other styles of manual micromanipulators. We will look at the process for adjusting all three axes of a KITE micromanipulator.
Let's talk about mechanical drift on a micromanipulator and how to correct it. In this demonstration, we will use the popular KITE. A manipulator axis may begin to move gradually under its own weight, even if it's not being touched. This is called mechanical drift, and it happens from normal use of the manipulator over time. Each course axis control on the micromanipulator has its own adjustments. This procedure is very similar to the one we used for adjusting an M3301 micromanipulator. It also works similarily on an MD4 or an MMJ. Your X, Y and Z axis controls are located on a single plane at the back of the manipulator. The X-axis fine control is on the top, the X-axis...more
- - February 08, 2021
Magnetic stands act as an invaluable extra hand around the laboratory to hold an electrode, digital dials or tools. The base houses a strong magnet which can be activated by turning the switch. Position the magnetic stand on a weighted steel base plate or metal desk and rotate the dial counter-clockwise to engage the magnet. We offer multiple styles of magnetic stands, but these videos show a couple options.
Flexible Magnetic Stand
The M11 Flexible Magnetic Stand is ideal for probe holders and other lightweight objects. The flexible arm bends like a snake and locks into position with a flick of the control lever. Here we show you how easy it is to set it up.
Magnetic Stand with Adjustment Arm
The M9 Magnetic Stand has an adjustment arm. We'll show you how to easily position it and set it in place. The magnetic base can be easily engaged or disengaged so that you can mount the stand firmly to a metal desk or weighted metal base plate.
- - May 21, 2013
- - April 28, 2013
When it comes to setting up microinjection systems, the options appear endless. The pictures below give some broad suggestions on how you might set up your own system. Keep in mind that many parts are interchangeable depending on your needs or preferences.
In general, you will need a stereo microscope on a stand, a light source, one or two micromanipulators with stands, and one or two injection systems. The following images show various setups for microinjection, and all the WPI part numbers are included for easy reference.
Remember, when you set up your own system, choose the parts that fit your needs. For example:
- M10 or the M9 magnetic base could be used.
- PZMIV stereo microscope could be used instead of the PZMIII stereomicroscope.
- M3301 or the KITE micromanipulators can be used, and these micromanipulators can be placed on either side. (Keep in mind, though, if you wanted to use a KITE micromanipulator on the right side of the setup below, you would order a KITE-R (right hand), or...more
Recent Posts