Page 13 - Product Information
- - February 11, 2021
The M3301 is a popular micromanipulator used for laboratory research. Here we will show you how to mount a microelectrode holder on the M3301 Micromanipulator. The procedure is very similar for most manual micromanipulators.
In this video, we use the popular M3301 Micromanipulator to demonstrate how to mount a standard electrode holder. This M3301 is mounted on an M-3 Tilt Base which allows you to position it the way you want. The Tilt Base is mounted on a 5-lb. Weighted Base (WPI #5464) for stability. To mount the microelectrode holder on the micromanipulator:
- Loosen the knurled thumb screw on the top of the micromanipulator.
- Slide your microelectrode holder under the clamp and position where you want it.
- Tighten the knurled thumb screw.
If you have any questions, give us a call at (866) 606-1974 (Toll free in the USA) or email us at wpi@wpiinc.com. - - February 11, 2021
Over time, you may experience mechanical drift in one or more of the axes of your manual micromanipulator. Here we show you how to adjust for that. The process is similar for other styles of manual micromanipulators. We will look at the process for adjusting all three axes of a KITE micromanipulator.
A micromanipulator axis may begin to move gradually under its own weight even if it's not being touched. This phenomenon is referred to as mechanical drift, and it occurs from normal use of the manipulator axes over time. Each coarse axis control of the micromanipulator has its own separate adjustment to counteract drift. Let's look at the popular M3301 Micromanipulator. The procedure we're using also works for an MD4, a KITE and an MMJ Micromanipulator. Each course axis control on the micromanipulator has its own adjustments. Your X, Y and Z axis controls are located on a single plane at the back of the manipulator. The X-axis fine control is on the top, the ...more
- - February 10, 2021
M3301 is a popular manual micromanipulator at WPI. These manipulators are typically mounted on a stand or table to ensure stability. In this video we show you how to mount the manipulator on an Tilt Base (WPI# M-3) with a WPI# 5464 5 lb. weighted base.
When we mount a micromanipulator on an M-3 tilt base, the tilt base can be adjusted to position the micromanipulator right where you want it. We will use our popular M3301 micromanipulator to demonstrate.
- The first thing we need to do is remove the ring clamp from the bottom of the micromanipulator. There are two screws that we need to remove with an allen key. Save the screws, because we will use them in a minute. Set the ring clamp aside.
NOTE: Notice that the mounting bracke has four holes in it. Two are used for mounting a left handed, and two are used for a right handed manipulator. You will never use all four. Likewise, you have several holes in the bottom of the manipulator. We will only use two...more
- The first thing we need to do is remove the ring clamp from the bottom of the micromanipulator. There are two screws that we need to remove with an allen key. Save the screws, because we will use them in a minute. Set the ring clamp aside.
- - February 09, 2021
Over time, you may experience mechanical drift in one or more of the axes of your manual micromanipulator. Here we show you how to adjust for that. The process is similar for other styles of manual micromanipulators. We will look at the process for adjusting all three axes of a KITE micromanipulator.
Let's talk about mechanical drift on a micromanipulator and how to correct it. In this demonstration, we will use the popular KITE. A manipulator axis may begin to move gradually under its own weight, even if it's not being touched. This is called mechanical drift, and it happens from normal use of the manipulator over time. Each course axis control on the micromanipulator has its own adjustments. This procedure is very similar to the one we used for adjusting an M3301 micromanipulator. It also works similarily on an MD4 or an MMJ. Your X, Y and Z axis controls are located on a single plane at the back of the manipulator. The X-axis fine control is on the top, the X-axis...more
- - February 08, 2021
Magnetic stands act as an invaluable extra hand around the laboratory to hold an electrode, digital dials or tools. The base houses a strong magnet which can be activated by turning the switch. Position the magnetic stand on a weighted steel base plate or metal desk and rotate the dial counter-clockwise to engage the magnet. We offer multiple styles of magnetic stands, but these videos show a couple options.
Flexible Magnetic Stand
The M11 Flexible Magnetic Stand is ideal for probe holders and other lightweight objects. The flexible arm bends like a snake and locks into position with a flick of the control lever. Here we show you how easy it is to set it up.
Magnetic Stand with Adjustment Arm
The M9 Magnetic Stand has an adjustment arm. We'll show you how to easily position it and set it in place. The magnetic base can be easily engaged or disengaged so that you can mount the stand firmly to a metal desk or weighted metal base plate.
- - February 01, 2021
WPI pre-pulled pipettes (MicroTips) are a popular choice for pharmaceutical companies carrying out CCIT (Closed Container Integrity Testing). Each MicroTip is individually tested and inspected and can be shipped with a certificate of compliance.
CCIT is an important part in understanding the biological safety and suitability of primary packaging. It is used to assess the potential of the container closure system to maintain a sterile barrier or to prevent leakage resulting in contamination or loss of the drug. A good overview of Understanding Container Closure Integrity Testing can be found on the American Pharmaceutical Review site.
WPI can quickly supply your need for consistently sized, pre-pulled, glass, calibrated micropipettes. Tip diameters (ID) range from 0.1 to 10 µm. Silanized Tips (Luer Shank) are available. Silanization waterproofs the glass to retard when inserting into cells. This will not let the outside fluid run down the glass pipettes and get inside...more
- - January 28, 2021
The system depicted includes components often favored by researchers:
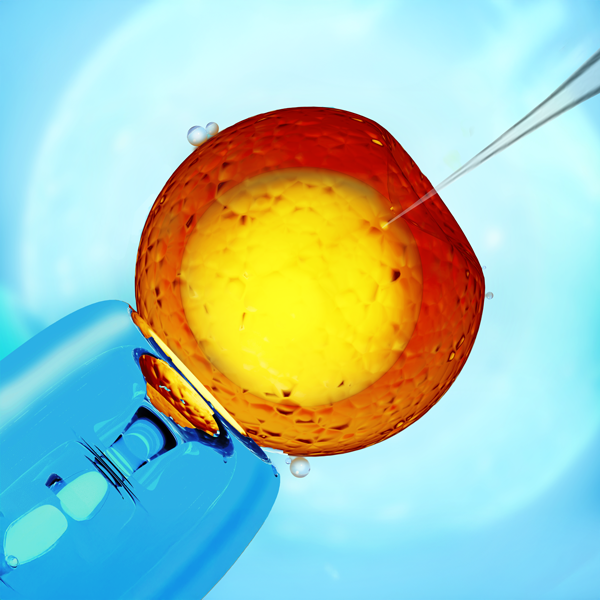
- MICRO-ePUMP Pneumatic PicoPump with built in MICRO-ePORE™ Cell Penetrator to facilitate microinjections
- SU-P1000 Micropipette Puller
- M4C Stand
- M3301R Micromanipulator
- PZMTIII Microscope with Optional Lighted Base with Articulating Mirror and optional PRO-300 HDS Camera and View Screen
- E2XX Micropipette Storage Jar
- Z-MOLDS Microinjection and Transplantation Molds
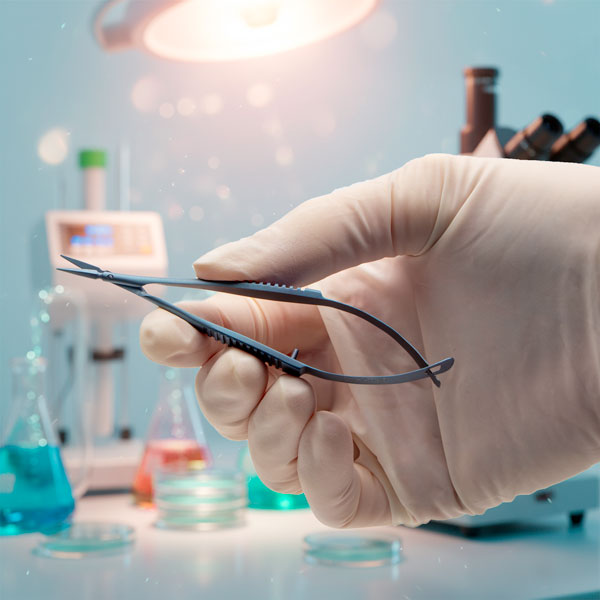
- 14003-G Vannas spring scissors
- Glass Capillaries
- 77020 Glass Tweezers
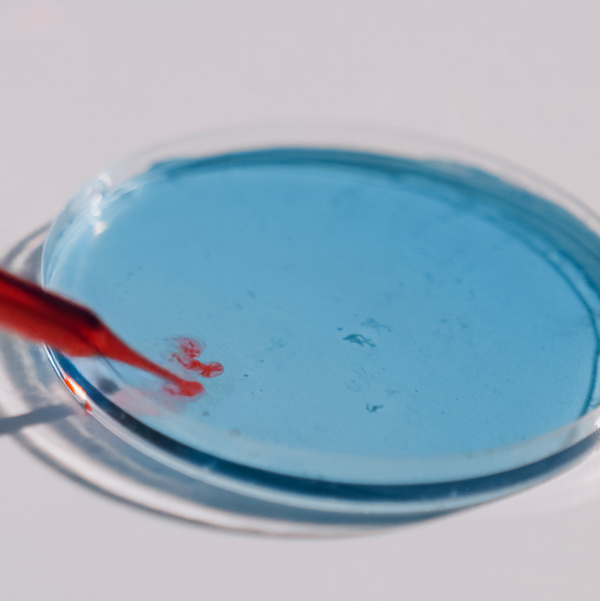
- FluoroDish Optical Grade Glass Bottom Culture Dishes
Whatever your needs, WPI offers a range of equipment to fill your requirements.
Empowering Scientists with Reliable Instruments
Serving scientists for over 50 years, WPI offers a variety of instruments for microinjection including pumps, pipetters, microscopes and more. One of our most popular pumps for microinjection is the PV850 Pneumatic PicoPump.
The PV850...more
- - January 27, 2021
World Precision Instruments (WPI) offers a broad range of research instruments for zebrafish (Danio Rerio) research, from the time the genetics of the subject are modified through the point where the physiological effects of the change are monitored. Whether researchers are performing microinjection or making cardiovascular measurements, the WPI product line includes instruments for research on oocytes, embryos, larvae and adult zebrafish.
Enhanced Microinjection Efficiency for Genetic Modification
The customizable Zebrafish Microinjection Toolbox includes components favored by researchers:
- MICRO-ePUMP Pressure Injector with built in MICRO-ePORE™ Cell Penetrator to facilitate microinjections
- SU-P1000 Micropipette Puller
- PZMTIII-MI/PZMIII-MI Trinocular or Binocular Microscope on lighted base with articulating mirror
- PRO-300HDS High Definition Camera and Monitoring System
- Accessories
The NANOLITER2020 Injector and the UMP3T-1 UltraMicroPump with SMARTouch Touchscreen Controller...more
- - September 07, 2020
[by Gabe Gonzalez]
The PV850 Injector is designed to simplify intracellular injection and a variety of other microinjection tasks. The PV850 uses regulated air pressure for injecting cells with fluid. Injected volumes range from picoliters to nanoliters. The port supplies positive pressure for high-pressure ejection maximum of 87 PSI. The PV850 Microinjector offers separate regulated compensation (back filling prevention) and ejection pressures with a precision timing circuit that switches from injection pressure to compensation pressure automatically. Timing, injection pressure and compensation pressure are adjusted independently using the intuitive touch-screen user interface. Time intervals can range from 2 seconds down to 10 ms or less, depending on the injection pressure setting. The injection pressure interval is triggered by using a foot switch, manually or a computer controlled TTL pulse. The PV850 is designed to inject very small quantities of fluids, such as drugs into cells...more
- - September 07, 2020
[by Gabe Gonzalez]
The PV850 Injector is designed to simplify intracellular injection and a variety of other microinjection tasks. The PV850 uses regulated air pressure for injecting cells with fluid. Injected volumes range from picoliters to nanoliters. The port supplies positive pressure for high-pressure ejection maximum of 8 7PSI. The PV850 Microinjector offers separate regulated compensation (back filling prevention) and ejection pressures with a precision timing circuit that switches from injection pressure to compensation pressure automatically. Timing, injection pressure and compensation pressure are adjusted independently using the intuitive touch-screen user interface. Time intervals can range from 2 seconds down to 10 ms or less, depending on the injection pressure setting. The injection pressure interval is triggered by using a foot switch, manually or a computer controlled TTL pulse. The PV850 is designed to inject very small quantities of fluids, such as drugs into cells...more
- - September 02, 2020
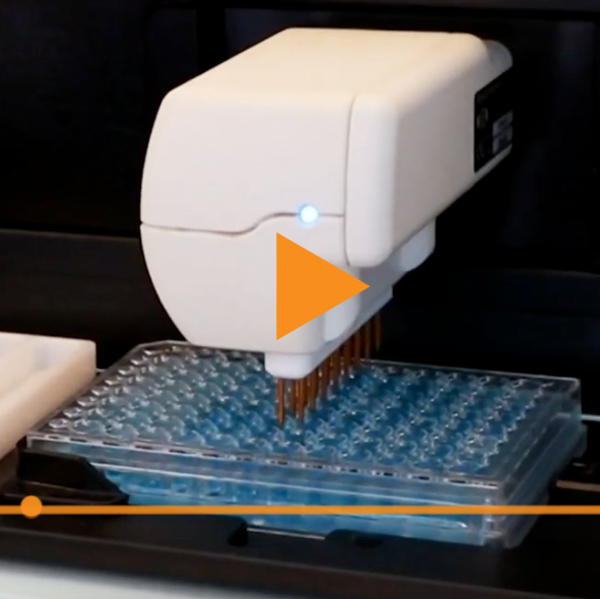
Designed to simplify intracellular injection and a variety of other microinjection tasks, WPI’s PicoPumps (PV830 and PV820) use precisely regulated pressures for securing cells and injecting them with fluid. Injected volumes range from picoliters to nanoliters. Separate ports supply positive and negative pressure—positive pressure for high-pressure ejection, and suction for supporting the cell or for filling the pipette from the tip. In this quick series, you can see how to setup a PicoPump.
1. What's Included with a PV Pump
In this first video (#1) you can see all the components of the system as they unpack the system.
2. Connecting Tubing on the PV830
In this video (#2) you see how to connect the hard tubing for both the pressure and the vacuum ports on the PV830. The PicoPumps use quick connectors. Push the tubing in to install it, and press the blue collar and pull on the tubing to remove it from the quick connector.
3. Setting Hold Pressure on a PicoPump...more
-
- - July 12, 2020
[by Alec Dickson]
Easy to Configure Using the SmartTouch Interface
The UMP3 UltraMicroPump is easy to configure using the SMARTouch interface. It is pre-programmed for popular microsyringes and allows for user-defined syringe parameters, too. This ensures nearly universal compatibility. You can control up to two pumps, either simultaneously or independently, and the optional foot switch means hands-free operation. You can instantly verify actual injection volume on the graphical display. You can even use the touch screen while wearing gloves.
Ensure Reliable Injections of Small Volumes
The extremely fine thread-pitch of the UMP3 drive shaft ensures reliable injections of small volumes. When you are using a 10-microliter syringe, this correlates to 0.58 nanoliters/step and injections are accurate down to 1 nanoliter. “Smooth” mode uses micro-steps and allows for a smoother injection, increasing the resolution eight-fold. “Standard” mode allows for higher torque, for viscous samples or...more
- - June 15, 2020
[by Alec Dickson]
WPI's FluoroDish™ tissue culture dishes provide exceptional imaging quality for many applications requiring the use of inverted microscopes such as high-resolution image analysis, microinjection and electrophysical recording of fluorescent-tagged cells. We have a 50 mm diameter dish and two types of 35 mm diameter dishes.
Better Optical Properties than PolycarbonateEach WPI dish has a flat (0.17mm±0.01mm thick), optical quality glass bottom, allowing the use of a much shorter working distance, larger numerical aperture (NA) and higher magnification (up to 100X). The larger NA and higher magnification provide superior quality imaging for both classical and fluorescence microscopy. Higher effective NA yields brighter images for fluorescence and higher resolution in image analysis.
The glass bottom does not fluoresce like plastic culture dishes. The lack of autofluorescence ensures a lower background signal in the fluorescence measurements. That means you can discern...more
- - June 14, 2020
[by Tiana Riggi]
UV/VIS/NIR absorbance spectroscopy is governed by Beer's Law, where the absorbance signal is proportional to chemical concentration, light path length and the compound’s specific molar absorption coefficient. Typical optical pathlengths of cuvettes and flow cells are between 0.1 cm and 10 cm. Longer pathlengths are difficult to achieve due to mechanical constraints. WPI solved this problem with the LWCC Liquid Waveguide Capillary Cells. LWCCs are fiber optic flow cells that combine an increased optical pathlength range from 10–500 cm with small sample volumes ranging from 2.4 µL to about 3 mL. Compared with a standard 1 cm cell you can expect to achieve a 10-500 fold increase in sensitivity.
Give us a call today to discuss your application.
(866)606-1974 toll-free in the USA

Recent Posts